- P. Pines Showroom: (786) 220-0037
- Boca R. Showroom: (561) 757-8743
- Coral S. Showroom: (954) 590-0088
- Tallahassee (NEW): (850) 999-0880
- GET IN TOUCH
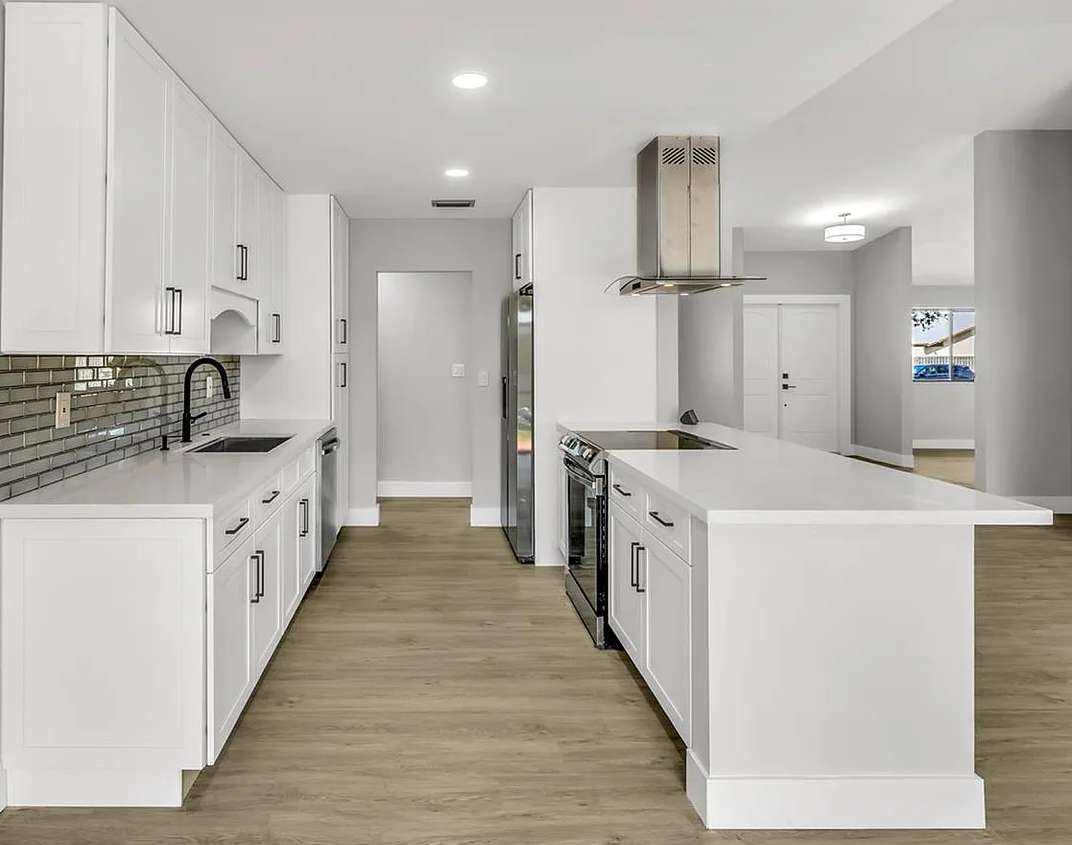
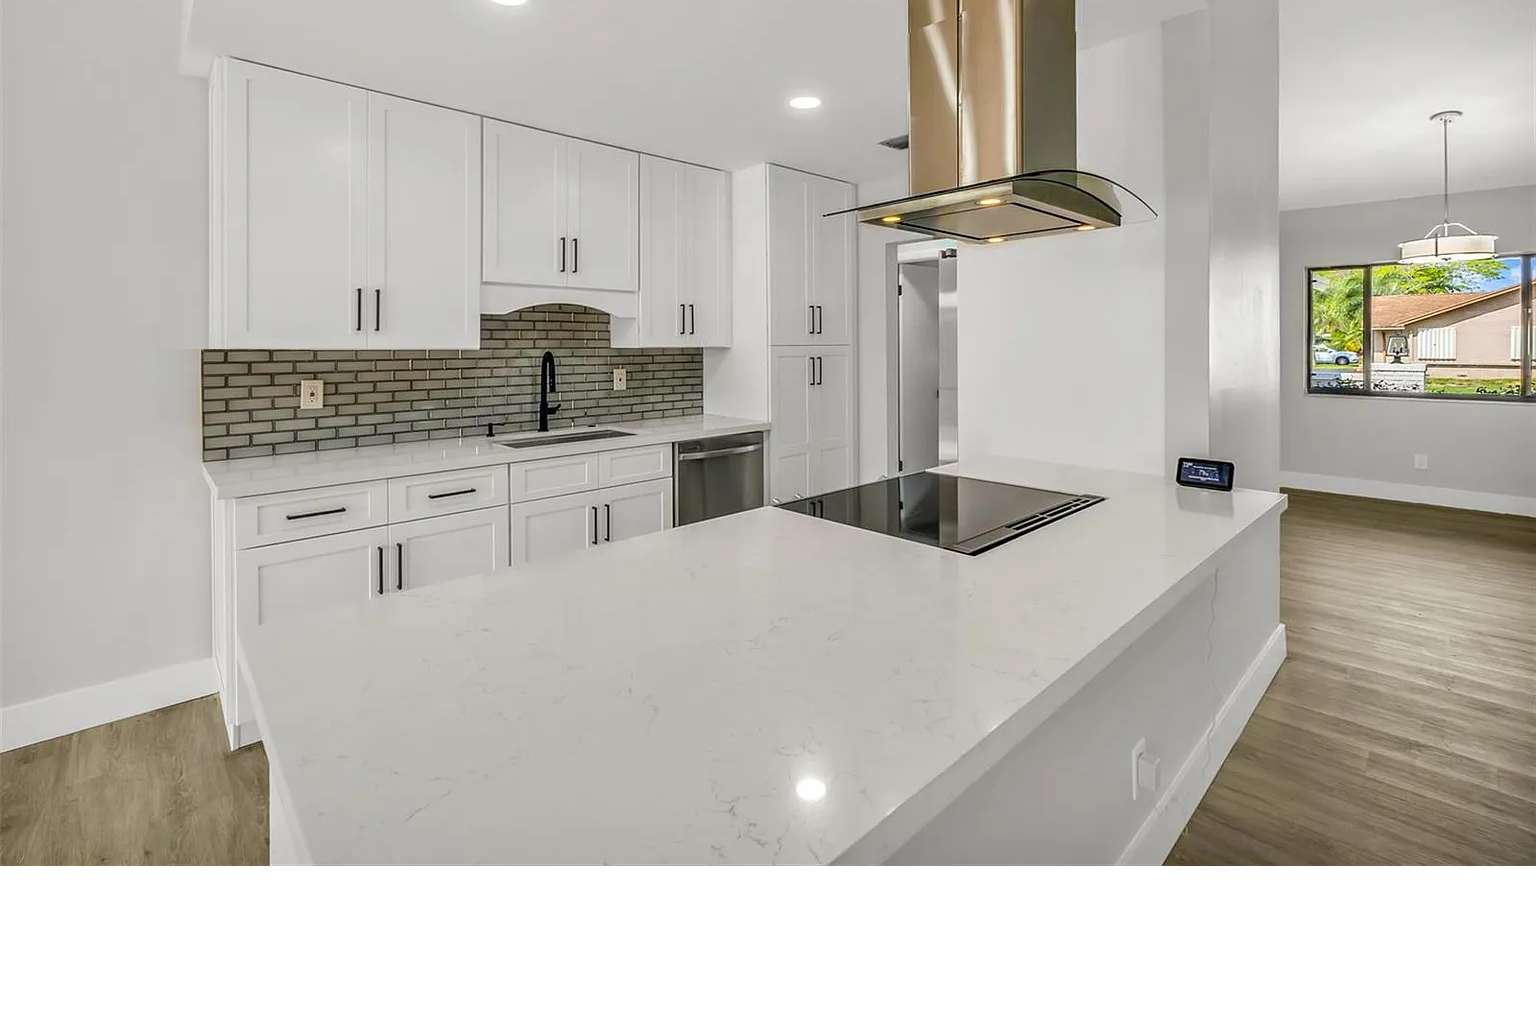
A glass 3D subway tile backsplash can add a unique, modern touch to your kitchen, offering both visual interest and a sleek, clean look. Here’s a detailed guide to help you design and implement a glass 3D subway tile backsplash project:
Key Elements
Tile Selection:
- Material: Choose high-quality glass tiles for durability and ease of cleaning.
- Color: Options range from clear and frosted glass to a variety of colors. Neutral colors like white, gray, or light blue can create a timeless look, while bold colors can make a statement.
- 3D Effect: The 3D aspect of the tiles can add depth and texture to your backsplash, making it a focal point in your kitchen.
Design and Layout:
- Subway Pattern: The classic subway tile layout involves staggered tiles, but you can also explore vertical or herringbone patterns for a unique twist.
- Grout Color: Choose a grout color that complements the tiles. Light grout can create a seamless look, while dark grout can highlight the tile pattern.
Complementary Elements:
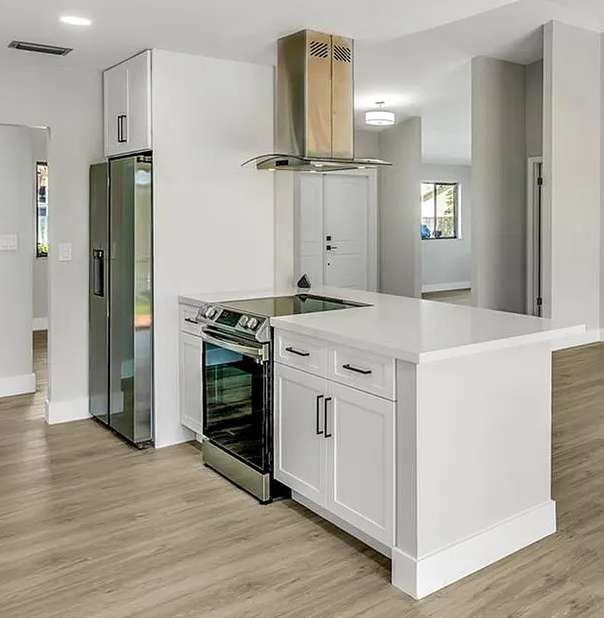
- Cabinets: Ensure your cabinet color and style complement the backsplash. White or light-colored cabinets can enhance the brightness of the glass tiles.
- Countertops: Select countertops that coordinate with the tile color and style. Quartz, granite, or solid surface materials work well.
- Lighting: Proper lighting is crucial to highlight the 3D effect of the tiles. Under-cabinet lighting can enhance the visual impact.
Steps to Execute the Project
Planning and Design:
- Measure the area where the backsplash will be installed.
- Create a design plan or use kitchen design software to visualize the layout and pattern of the tiles.
- Decide on the tile color, pattern, and grout color.
Budgeting:
- Determine your budget, considering the cost of tiles, adhesive, grout, and labor.
Material Selection:
- Purchase the glass 3D subway tiles, adhesive, and grout. Ensure you have all necessary tools for installation, such as a tile cutter, spacers, and a trowel.
Preparation:
- Clean the wall surface where the tiles will be installed. Ensure it is smooth, dry, and free of any grease or dust.
- If necessary, apply a primer to help the adhesive bond better to the wall.
Installation:
- Applying Adhesive: Use a notched trowel to spread tile adhesive evenly on a small section of the wall.
- Placing Tiles: Start at the bottom center of the backsplash area and work your way outwards. Place the tiles on the adhesive and use spacers to ensure even spacing.
- Cutting Tiles: Use a tile cutter to cut tiles to fit around edges, outlets, and corners.
- Grouting: Once the adhesive has dried, apply grout to the spaces between the tiles using a grout float. Wipe off excess grout with a damp sponge.
Finishing Touches:
- Sealing: Apply a sealer to the grout to protect it from stains and moisture.
- Cleaning: Clean the tiles to remove any residue and ensure they shine.
- Lighting: Install under-cabinet lighting to highlight the 3D effect of the tiles.